FotoFlexer - Online photo editing tool

FotoFlexer is an imaging tool that is currently way ahead of the pack. FotoFlexer allow you to tweak your photos with some amazing editing tools. You can tweak your images with different effects, font, shapes and frames. With FotoFlexer there are no downloads required or installations. FotoFlexer is astoundingly fast and it is all done right within your browser. The service currently works on either a MAC or Windows platforms.
Assignment - part 1
Students will have use a digital picture of themselves (one they have or a new one taken in class). Using FotoFlexer, they will resize/crop the picture to be 400 x 300 pixels. If necessary, they will use other editing tool to adjust the color or fix red-eye. Using FotoFlexer, students will add text to the picture. They should choose 6 words that describe themselves. These words should be in a font and color that are easy to read on the picture. The words may not cover the face of the student.
GIMP - open source photo editing software

The Gnu Image Manipulation Program, or GIMP, is a raster graphics editor used to process digital graphics and photographs. Typical uses include creating graphics and logos, resizing and cropping photos, altering colors, combining multiple images, removing unwanted image features, and converting between different image formats. GIMP can also be used to create basic animated images in GIF format. It is often used as a free software replacement for Adobe Photoshop, the most widely used bitmap editor in the printing and graphics industries; however, it is not designed to be a Photoshop clone. The project's mascot is named Wilber.
Part 2
Using GIMP, students will learn to add a vignette effect to a photo.
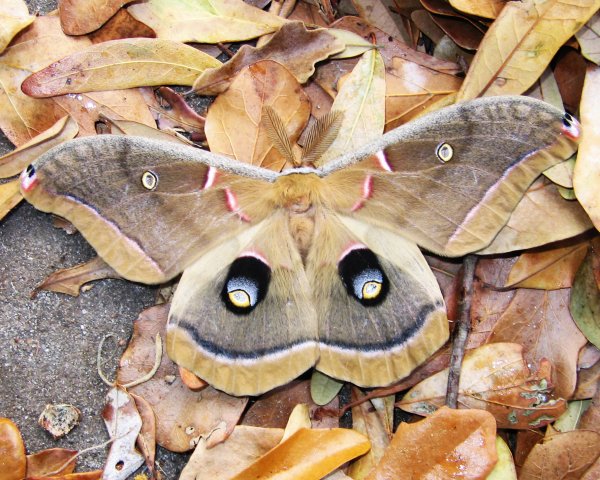
Directions for creating a vignette (sample photo)
After completing the example, choose your own photograph and repeat the steps.
Remember to reference where the original photo came from
(add a caption to the photo when posting it on your Weebly site)
Directions for creating a vignette (sample photo)
After completing the example, choose your own photograph and repeat the steps.
Remember to reference where the original photo came from
(add a caption to the photo when posting it on your Weebly site)
Part 3
Using GIMP, students will learn how to cut text out of a photo.
Directions for photo text (sample photo)
After completing the example, choose your own photograph and repeat the steps.
Remember to reference where the original photo came from
(add a caption to the photo when posting it on your Weebly site)
Directions for photo text (sample photo)
After completing the example, choose your own photograph and repeat the steps.
Remember to reference where the original photo came from
(add a caption to the photo when posting it on your Weebly site)
Part 4
Using GIMP, students will learn how to isolate and image and recolor it.
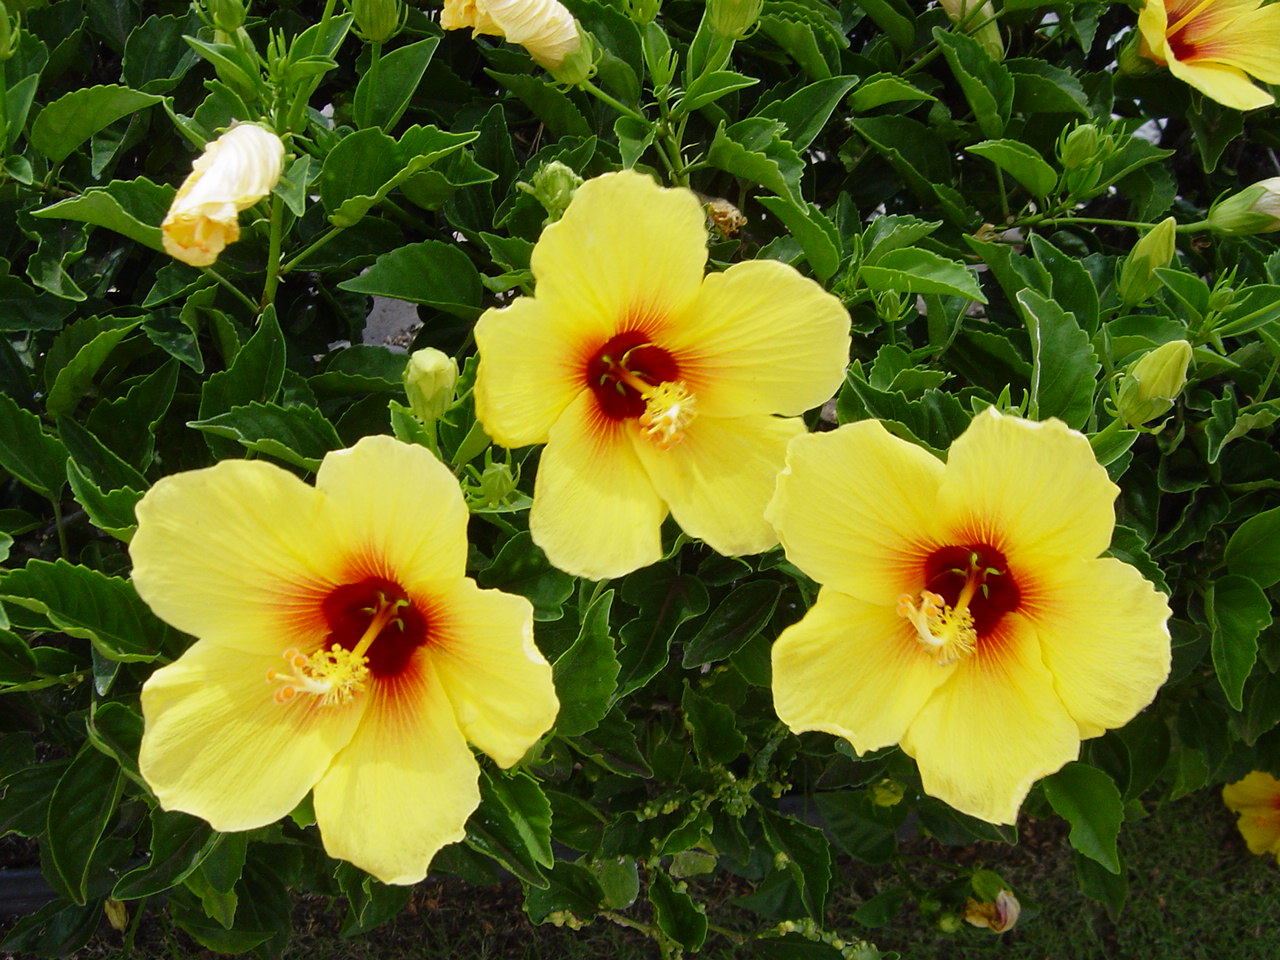
Directions for colorizing (sample photo)
After completing the example, choose your own photograph and repeat the steps.
Remember to reference where the original photo came from
(add a caption to the photo when posting it on your Weebly site)
Directions for colorizing (sample photo)
After completing the example, choose your own photograph and repeat the steps.
Remember to reference where the original photo came from
(add a caption to the photo when posting it on your Weebly site)
Part 5
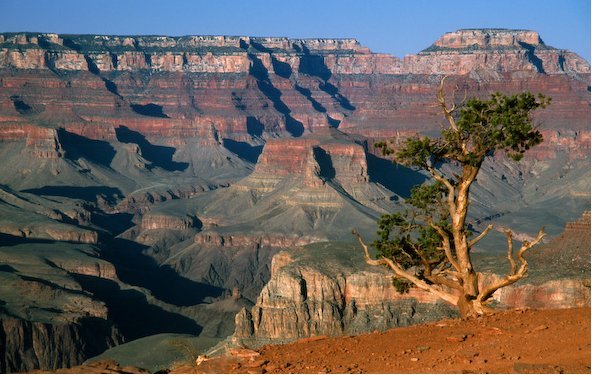
Using GIMP, students will learn how to add their image to a photo to make it look
like they visited a famous US location
Directions for inserting image (sample photo)
After completing the example, choose your own photograph and repeat the steps.
Remember to reference where the original photo came from
(add a caption to the photo when posting it on your Weebly site)
like they visited a famous US location
Directions for inserting image (sample photo)
After completing the example, choose your own photograph and repeat the steps.
Remember to reference where the original photo came from
(add a caption to the photo when posting it on your Weebly site)
Part 6
Using GIMP, students will learn how to create a background image using a combination of filters
Directions for background
(add a caption to the photo when posting it on your Weebly site)
Directions for background
(add a caption to the photo when posting it on your Weebly site)
Part 7
Using GIMP, students will learn how to recolor a simple line drawing using web safe colors.
Directions for recoloring (sample photo)
(add a caption to the photo when posting it on your Weebly site.)
Directions for recoloring (sample photo)
(add a caption to the photo when posting it on your Weebly site.)
